
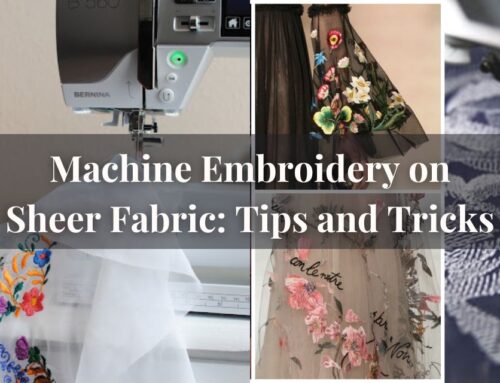
Winter is the perfect time to cozy up in your favorite hoodie. But why settle for a plain and ordinary one when you can add a personalized touch with machine embroidery? In today’s DIY guide, I want you to show some easy steps that can help you to create a unique and stylish winter hoodie. Time for you to stand out in the frosty crowd!
You can definitely embroidery a winter hoodie or your favourite sweatshirt even if you have no expertise at all or if you know exactly how to work with floss and a hoop. Having said that, it’s always a good idea to practise your basic and intermediate embroidery techniques before using them on an article of clothing.
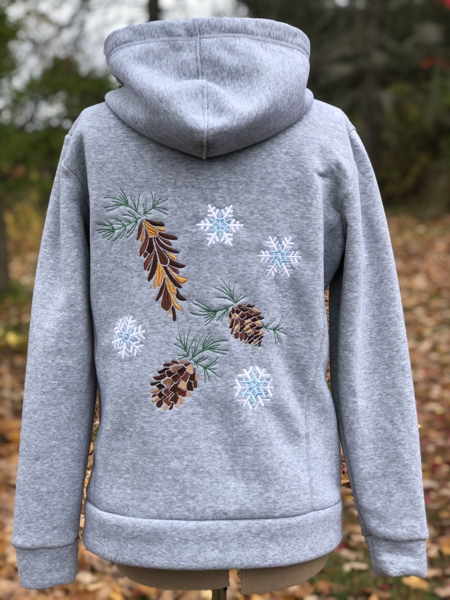
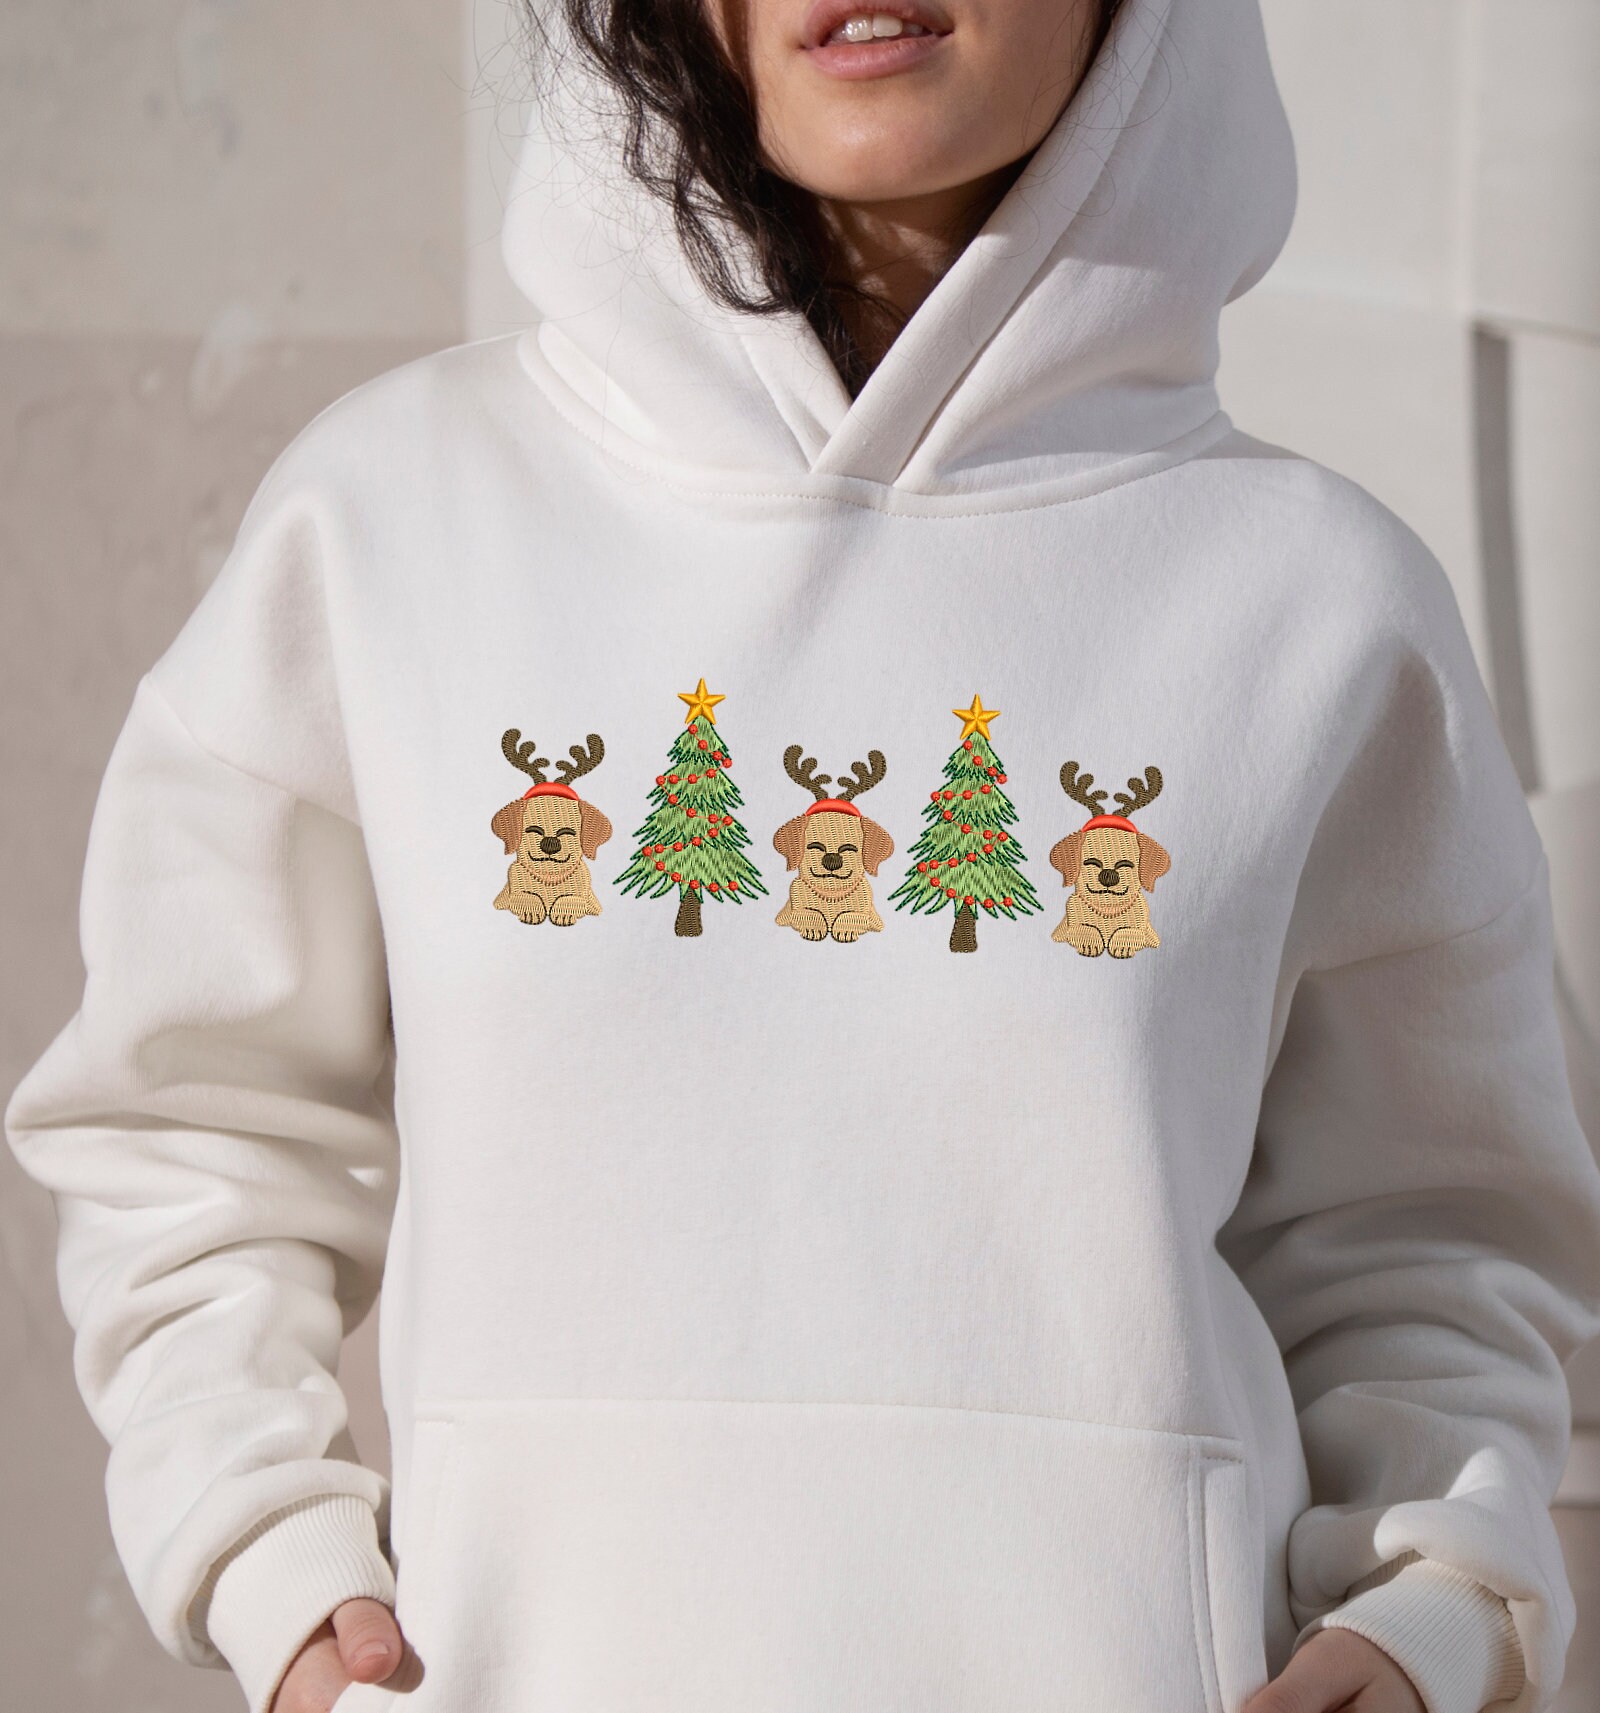
You can go huge and cover the entire back, or you can add a modest pattern around the collar. There are not any specific guidelines to follow and stick to.
Materials Needed:
- Hoodie (preferably made of warm and thick fabric like fleece or sweatshirt material)
- Machine embroidery thread in your desired colors
- Stabilizer (cutaway or no show mesh)
- Embroidery needles
- Fabric markers or chalk
- Scissors
- Design or pattern of your choice
We will start by talking about stabilizers and designs for your embroidery projects.
As usual I’d like you to start by selecting a design that speaks to your winter vibes. It could be snowflakes, a cozy quote, or even a cute winter animal or scenery that you love.
Tear-away stabilizer can work well if your design isn’t too dense or complex and your winter hoodie isn’t too stretchy. It should give you a good enough stitch out for a simple design. However, for more stability, especially with dense fill-stitch designs and larger stitch counts, using two layers of cut-away stabilizer can be a great option. You can choose between sticky stabilizer, fusible stabilizer, or regular stabilizer. Personally, I like using regular stabilizer with a light layer of temporary fabric adhesive.
Step 1: Prepare Your Hoodie
Lay your winter hoodie flat on a clean surface and smooth out any wrinkles. If you have a specific placement in mind for your embroidery, use fabric markers or chalk to lightly mark the area.
Run your hoodie under the water first if you’re working with cotton fiber hoodies, they tend to shrink, so it’s best to let the shrinkage happen before embroidering. Otherwise, you might end up with puckering around the design after washing. Once your sweatshirt is washed, you can go ahead and mark the placement with chalk for your embroidery design.
Step 2: Hoop It Up
Place the marked area inside an embroidery hoop. This will keep the fabric stable and prevent any shifting during the embroidery process.
When choosing a hoop, go for the smallest one that can accommodate your design. Personally, I prefer hooping all fabrics, but if you’re not a fan of hooping or if the sweatshirt won’t fit with the two frames of the hoop, you can float it instead.
Now, here’s a crucial tip: when hooping, make sure not to stretch the sweatshirt to flatten the fabric. Stretching it can cause distortion and puckering around your embroidery design once you release it from the hoop. So be gentle and avoid any unnecessary stretching.
Step 3: Set Up Your Machine
Thread your embroidery machine with the colour of thread that matches your design. Attach the embroidery hoop to your machine and ensure you have the right embroidery needle installed. Pull the back of the sweatshirt out from under the hoop and secure it away from the embroidery area using hair clips, clothespins, or painter’s tape. We definitely don’t want to accidentally stitch the two sides of your project together! If your hoodie has a zipper, it’s actually easier to prepare for embroidery compared to a plain sweatshirt with just a top and bottom opening. Keep that in mind while getting everything set up.
Step 4: Transfer the Design
Using fabric markers or chalk, trace or draw the design onto your hoodie. This will serve as a guide for your machine embroidery.
Step 5: Stabilizer the Fabric
Cut a piece of stabilizer slightly larger than your hoop and place it on the backside of the hoodie, aligning it with the marked design area. This will provide support and prevent the fabric from puckering during embroidery.
Sweatshirt fabric can be a bit squishy, and sometimes the stitches can get lost in the knit. To prevent that, it’s a great idea to add a layer of water-soluble topping before you start embroidering. This topping will provide some extra stability and help your stitches stand out beautifully. It’s a handy trick to ensure your design really pops on the sweatshirt.
Step 6: Start Embroidering
Follow the instructions for your specific embroidery machine to begin stitching your design. Take it slow and keep an eye on the machine to ensure everything is going smoothly. A lot of people these days don’t want to sit through the whole embroidery procedure.
Step 7: Finishing Touches
Once the machine embroidery is complete, remove the hoop and stabilizer from the hoodie. Trim any excess fabric and threads, being careful not to cut any of the embroidery stitches. Give it a gentle shake to remove any loose stabilizer remnants.
Step 8: Press and Set
To give your machine embroidery a polished look, place a clean cloth over the embroidered area and press it with a warm iron. This will help set the stitches and flatten any minor puckering.
Step 9: Care Instructions
To ensure the longevity of your machine-embroidered hoodie, it’s important to follow proper care instructions. Turn your hoodie inside out before washing to protect the embroidery. Use a gentle cycle with cold water and air dry or lay it flat to dry. Avoid using bleach or harsh detergents that could damage the embroidery.
Conclusion:
Remember, this is just a basic guide to get you started on a machine embroidering a winter hoodie. Feel free to get creative and experiment with different designs, thread colours, and placement options.

Edible Easter Slime
Mauris congue venenatis nisl ut varius. In posuere sem lorem, eu iaculis ante. Quisque eget turpis
Creative Back To School Ideas
Mauris congue venenatis nisl ut varius. In posuere sem lorem, eu iaculis ante. Quisque eget turpis
Exclusive Content
Be Part of Our Exclusive Community
Sed finibus, sem elementum tincidunt tempor, ipsum nisi ullamcorper magna, vel dignissim eros sapien at sem. Aliquam interdum, ante eget sagittis fermentum, mauris metus luctus sem, at molestie.


Leave A Comment