")
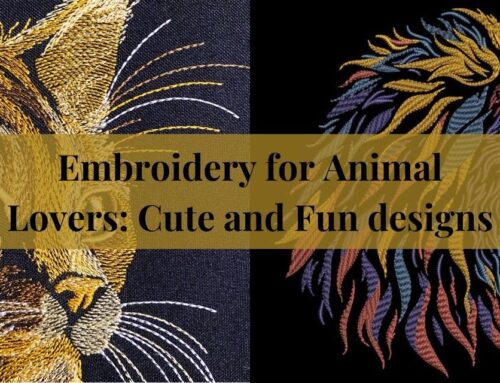
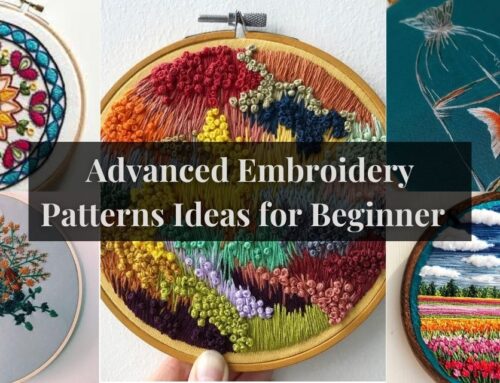
Embroidery has always been a craft that can be molded, merged into, or turned into something different. Have you ever considered experimenting with new embroidery techniques to take something to the next level? Inside the hoop art is an innovative embroidery style. What it allows is for you to create stunning pieces of embroidery art directly into an embroidery hoop. Sounds strange? It won’t once you see it. This post is helpful for both machine and hand embroiders.
What is Inside the Hoop Art?
Inside the hoop art, ITH, hoop art, or hoop embroidery, call it what you want, as long as it makes sense to you. Basically, it is a technique where the embroidery design is created directly within the hoop itself. We can use either of the embroidery methods. It has now gained popularity in machine embroidery. Before, it was adored mostly by hand embroidery.
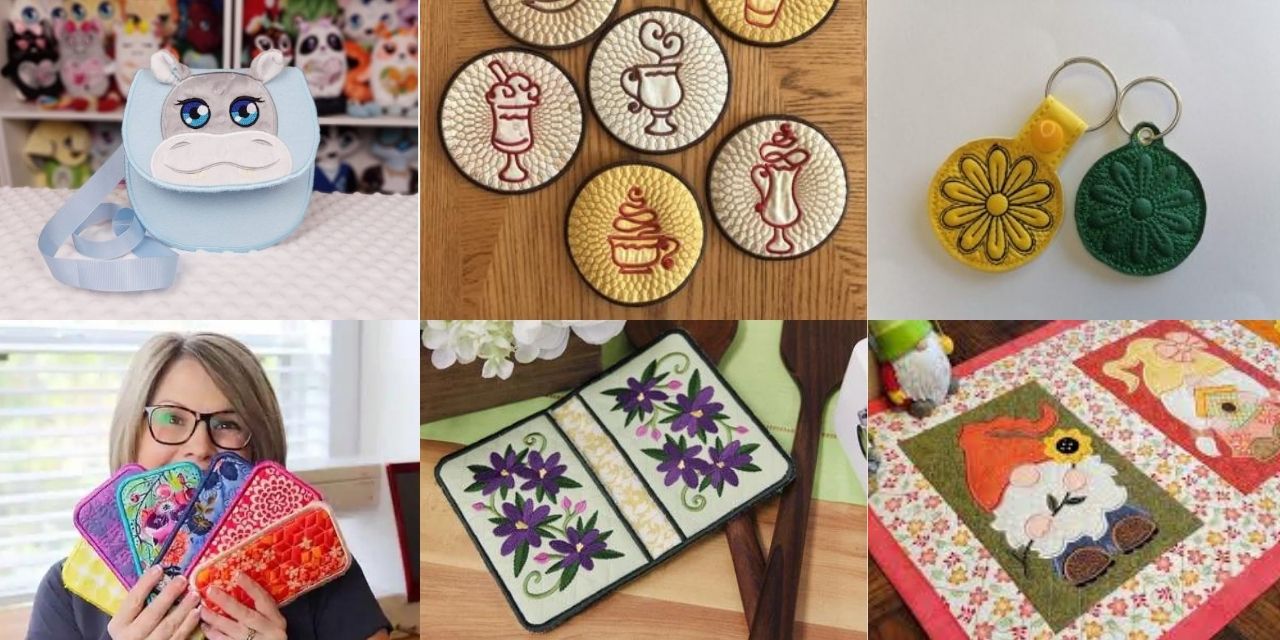
ITH is not just for simply stitching on fabric; in fact, you can add different materials and textures like faux leather, vinyl leather, card boards, silk, or plain cotton fabric. There is no limit to using different elements, as long as they can be pierced with an embroidery needle.
Ask me why in-the-hoop designs are great? Because you can create entire thing right in your hoop! Also all you need is scrape of fabric. You can make all kind of little helpful cute things like bookmarks, coasters, bags, photo frames,notebook covers and even dolls. It’s a fun and super convenient way to make useful items without going through much.
Supplies:
Lets talk about what supplies you’ll need for your hoop art projects to get started, you’ll need a few basic materials and tools. As follows:
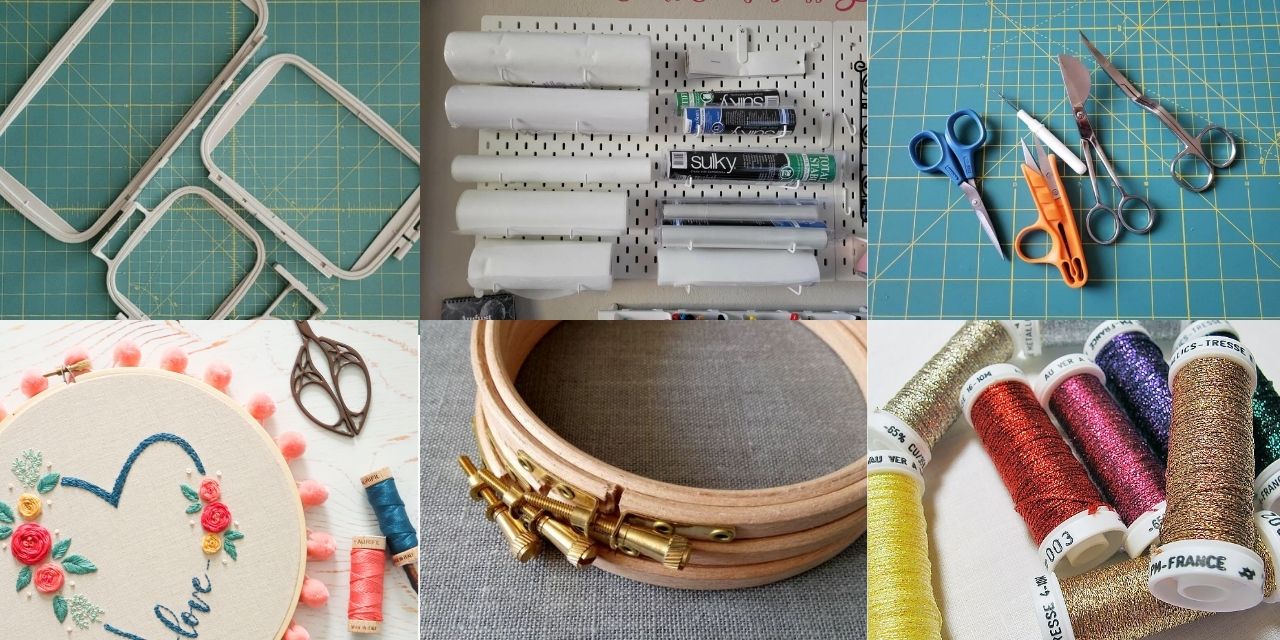
Hoop:
What ITH without Hoop? Whether you are opting for machine embroidery or hand embroidery, you will need to find the right size of hoop suitable for your project.
Fabric or material:
A piece of fabric or felt that’s larger than the hoop. Opt for a fabric that compliments your design and provides a sturdy base.
Floss and a needle (hand embroidery):
Get good quality floss in a variety of colors and a sharp hand embroidery needle, especially if you are opting to do this on a material other than fabric like a vinyl.
A side tip for hand embroiderers. Once you’re finished, you can either use a hot glue gun to attach the excess fabric to the inner side of the hoop or trim it close to the hoop with shears to prevent fraying.
Machine embroidery supplies:
If you are doing this with machine embroidery, then you will have to gather some extra supplies other then hoop and fabric for that. Nothing complicated though its all basic, stabilizer, needle, scissor, trimmer. Let’s have a detailed look:
Stabilizer:
For Inside the hoop projects if you use cutaway or tearaway stabilizer it would make your creations life longer, but some experts also suggest using water-soluble stabilizer for that clean look. Actually, it all varies from project to project.
Needles and scissors:
These two are essential for stitching the craft and trimming away the excess. Having a sharper scissor around is very necessary during ITH projects as you will have to trim away the extras.
Extra embellishments (optional):
Get creative with beads, sequins, ribbons, small trinkets or charms to throw in that extra flair.
How to ITH using machine embroidery?
Here are the steps to follow when working with in the hoop designs using embroidery machine:
- Unzip the files and look for the PDF with step-by-step photos. Take a quick read of the instructions.
- Remember to stitch the designs in the correct order. This ensures that your design is stitched together correctly.
- Do not color sort in-the-hoop designs. Different colors are used in the designs to indicate where your machine should stop at certain points. This helps ensure that the design is joined in the correct order.
- If your machine shows a different number of colors or stitches in a different order than the instructions, please re-download your files and transfer them to your machine without opening them in embroidery software. Also, turn off any smart color sort settings if your machine has that option. The designs must stitch out in the original order they were created.
- Now that you have the materials and files, it’s time to get started! Follow the instructions to achieve a perfect stitch out.
- To minimize stabilizer movement within the hoop, especially for large appliques, make sure to use the correct stabilizer and consider using tape around your hoops, as shown in many of the earlier designs.
- Trim it up now, Trimming the batting and fabric close to the satin stitch edges helps to achieve a clean and smooth finish.
Note:
When it comes to in-the-hoop designs using machine embroidery, you have a lot of options for the fabric you use. While cotton is a popular choice, you can get creative and try out different materials like vinyl, denim, or satin for your coasters. If you decide to go with something other than cotton, it’s a good idea to do a test sample first. For vinyl or heavy denim, you might not need any batting, and for satin, adding iron-on interfacing to the back can help prevent fraying. It’s always fun to experiment and see what works best for your chosen fabric.
Techniques and Ideas:
Mixed media:
Incorporate other materials like fabric scraps, lace, or even paper to create unique textures and visual interest.
Layering:
Experiment with layering different fabrics or stitching techniques to give your design depth and dimension.
Appliqué:
Add extra elements to your design by appliquéing fabric or felt shapes onto the background fabric.
Embroidery stitches:
Explore a variety of stitches like satin stitch, French knots, or seed stitch to add texture and detail to your artwork.
Tips for Success
Plan your design:
Sketch out your idea and plan the placement of different elements before you start stitching. This will help you visualize the final result and ensure a cohesive design.
Experiment with materials:
Don’t limit yourself to traditional embroidery materials. Explore different textures, fabrics, and embellishments to add interest and uniqueness to your artwork.
Practice different stitches:
Inside the hoop art allows you to showcase a variety of embroidery stitches. Take the opportunity to learn and practice new stitches to enhance your designs.
Take your time:
Inside the hoop art can be intricate and time-consuming. Embrace the process and enjoy each stitch, knowing that the end result will be worth it.
Display and share your art:
Once you’ve completed your inside the hoop art, proudly display it on a wall or shelf. Share your creations on social media or with friends and family to inspire others.
Conclusion:
Inside the hoop art is a captivating and innovative way to elevate your embroidery projects. By exploring different materials, techniques, and ideas, you can create stunning and unique pieces of ITH art that showcase your creativity and skill.
Edible Easter Slime
Mauris congue venenatis nisl ut varius. In posuere sem lorem, eu iaculis ante. Quisque eget turpis
Creative Back To School Ideas
Mauris congue venenatis nisl ut varius. In posuere sem lorem, eu iaculis ante. Quisque eget turpis
Exclusive Content
Be Part of Our Exclusive Community
Sed finibus, sem elementum tincidunt tempor, ipsum nisi ullamcorper magna, vel dignissim eros sapien at sem. Aliquam interdum, ante eget sagittis fermentum, mauris metus luctus sem, at molestie.
Leave A Comment