
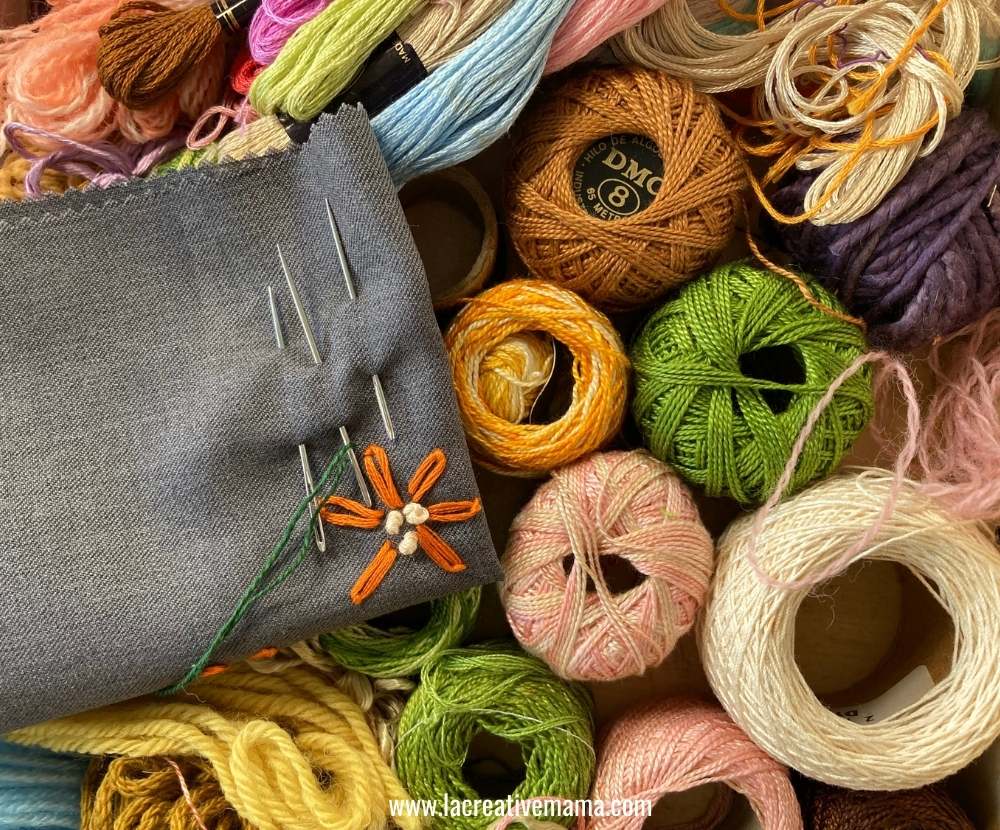
Hand embroidery is an art form where you use a needle and thread to give life to your items, especially your fabric. It’s been practiced for years in many cultures, through which it has evolved so much that now it has various styles and techniques. In this article, I will share tips and tricks to create perfect stitches. I’ll show you both the basics and the specialty. Your stitching game can easily be improved if you follow these 10 simple tricks while doing your favorite hand embroidery projects.
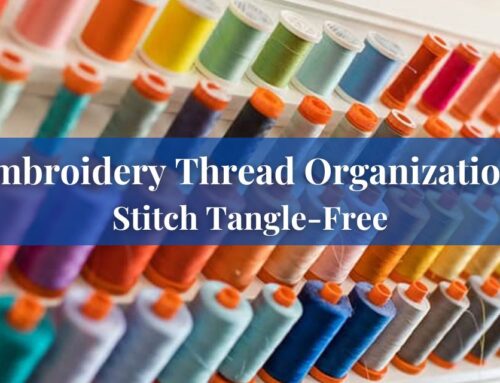
Picking the Correct Type of Needle and Thread:
Of course, this is the most important key factor to creating the delightful work of art. Selecting the right needle and thread according to the design you want to create on a certain type of fabric is important. Experiment with various combinations to find the perfect match for your project. Remember, a well-matched needle and thread will make your stitches more even and professional-looking.
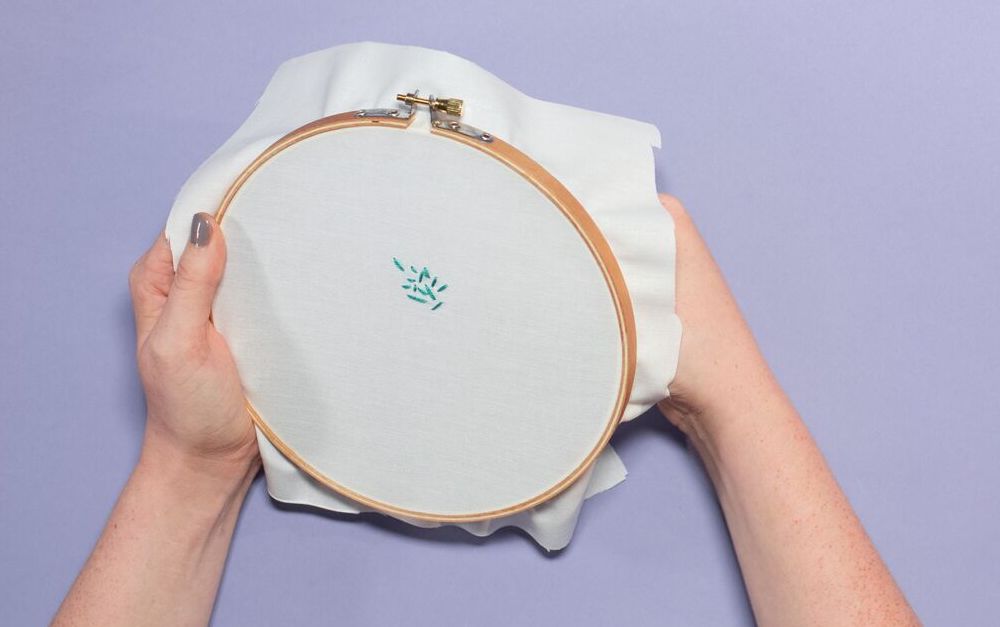
Hooping:
If it were up to me, I'd start explaining the embroidery process from this very step and how important this plays a role in helping you achieve that perfectly stable and open design. Using an embroidery hoop is essential for maintaining tension and preventing fabric distortion. Make sure to hoop your fabric tightly, but not too tight, to avoid warping. A well-hooped fabric will provide a stable surface for your stitches, resulting in cleaner and more precise embroidery.
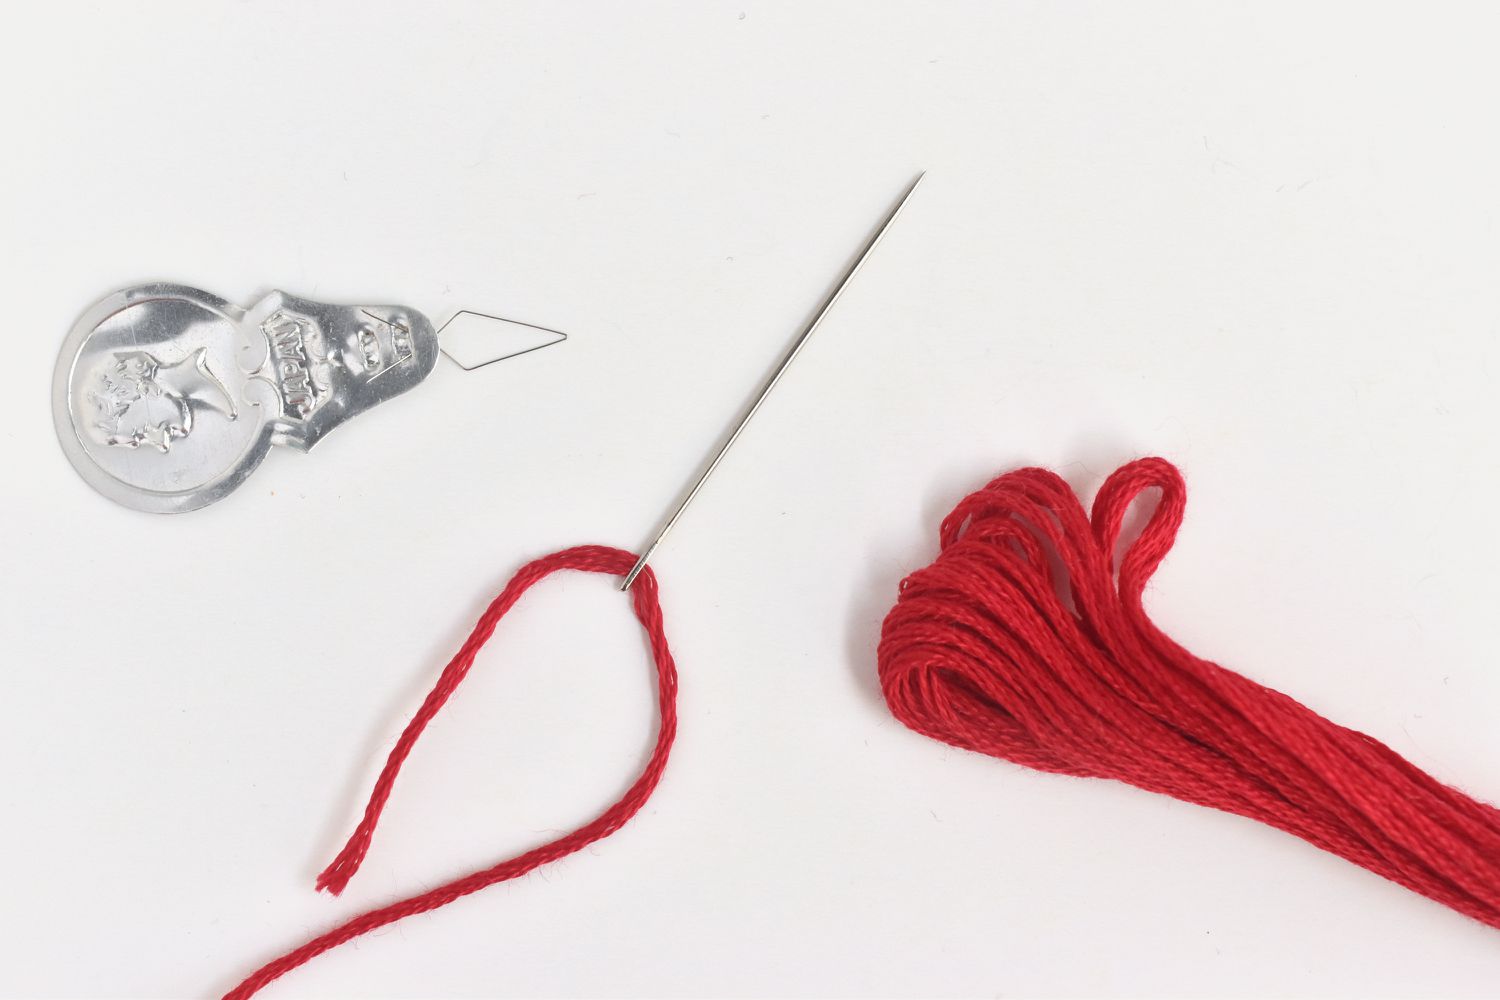
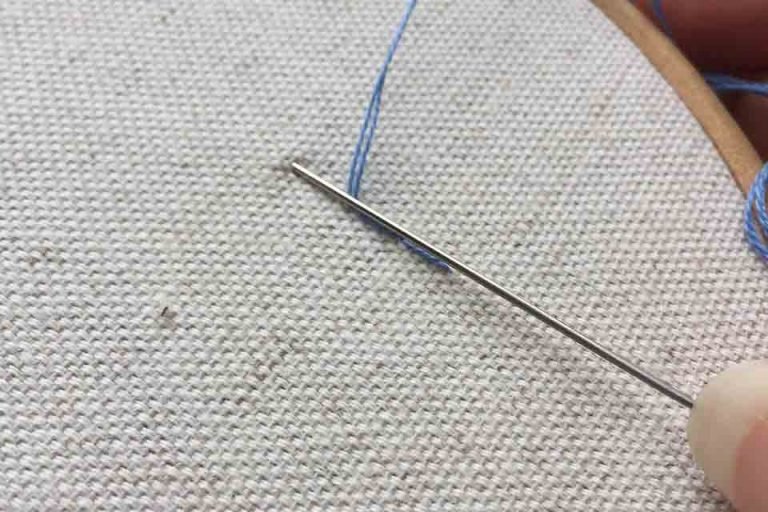
Practice Threading:
This might be a little challenging at first for two reasons: first, the embroidery floss is not always stranded, you separate it and make it thicker or thinner on the basis of your designs’ needs, and second, the needles eyes are mostly not that elongated. Threading your needle correctly is important too for smooth stitching. Cut your thread at an angle to create a sharp point for easy threading. You can also use a needle threader. Ensure that your thread is securely threaded through the eye of the needle to prevent it from slipping out while you stitch.
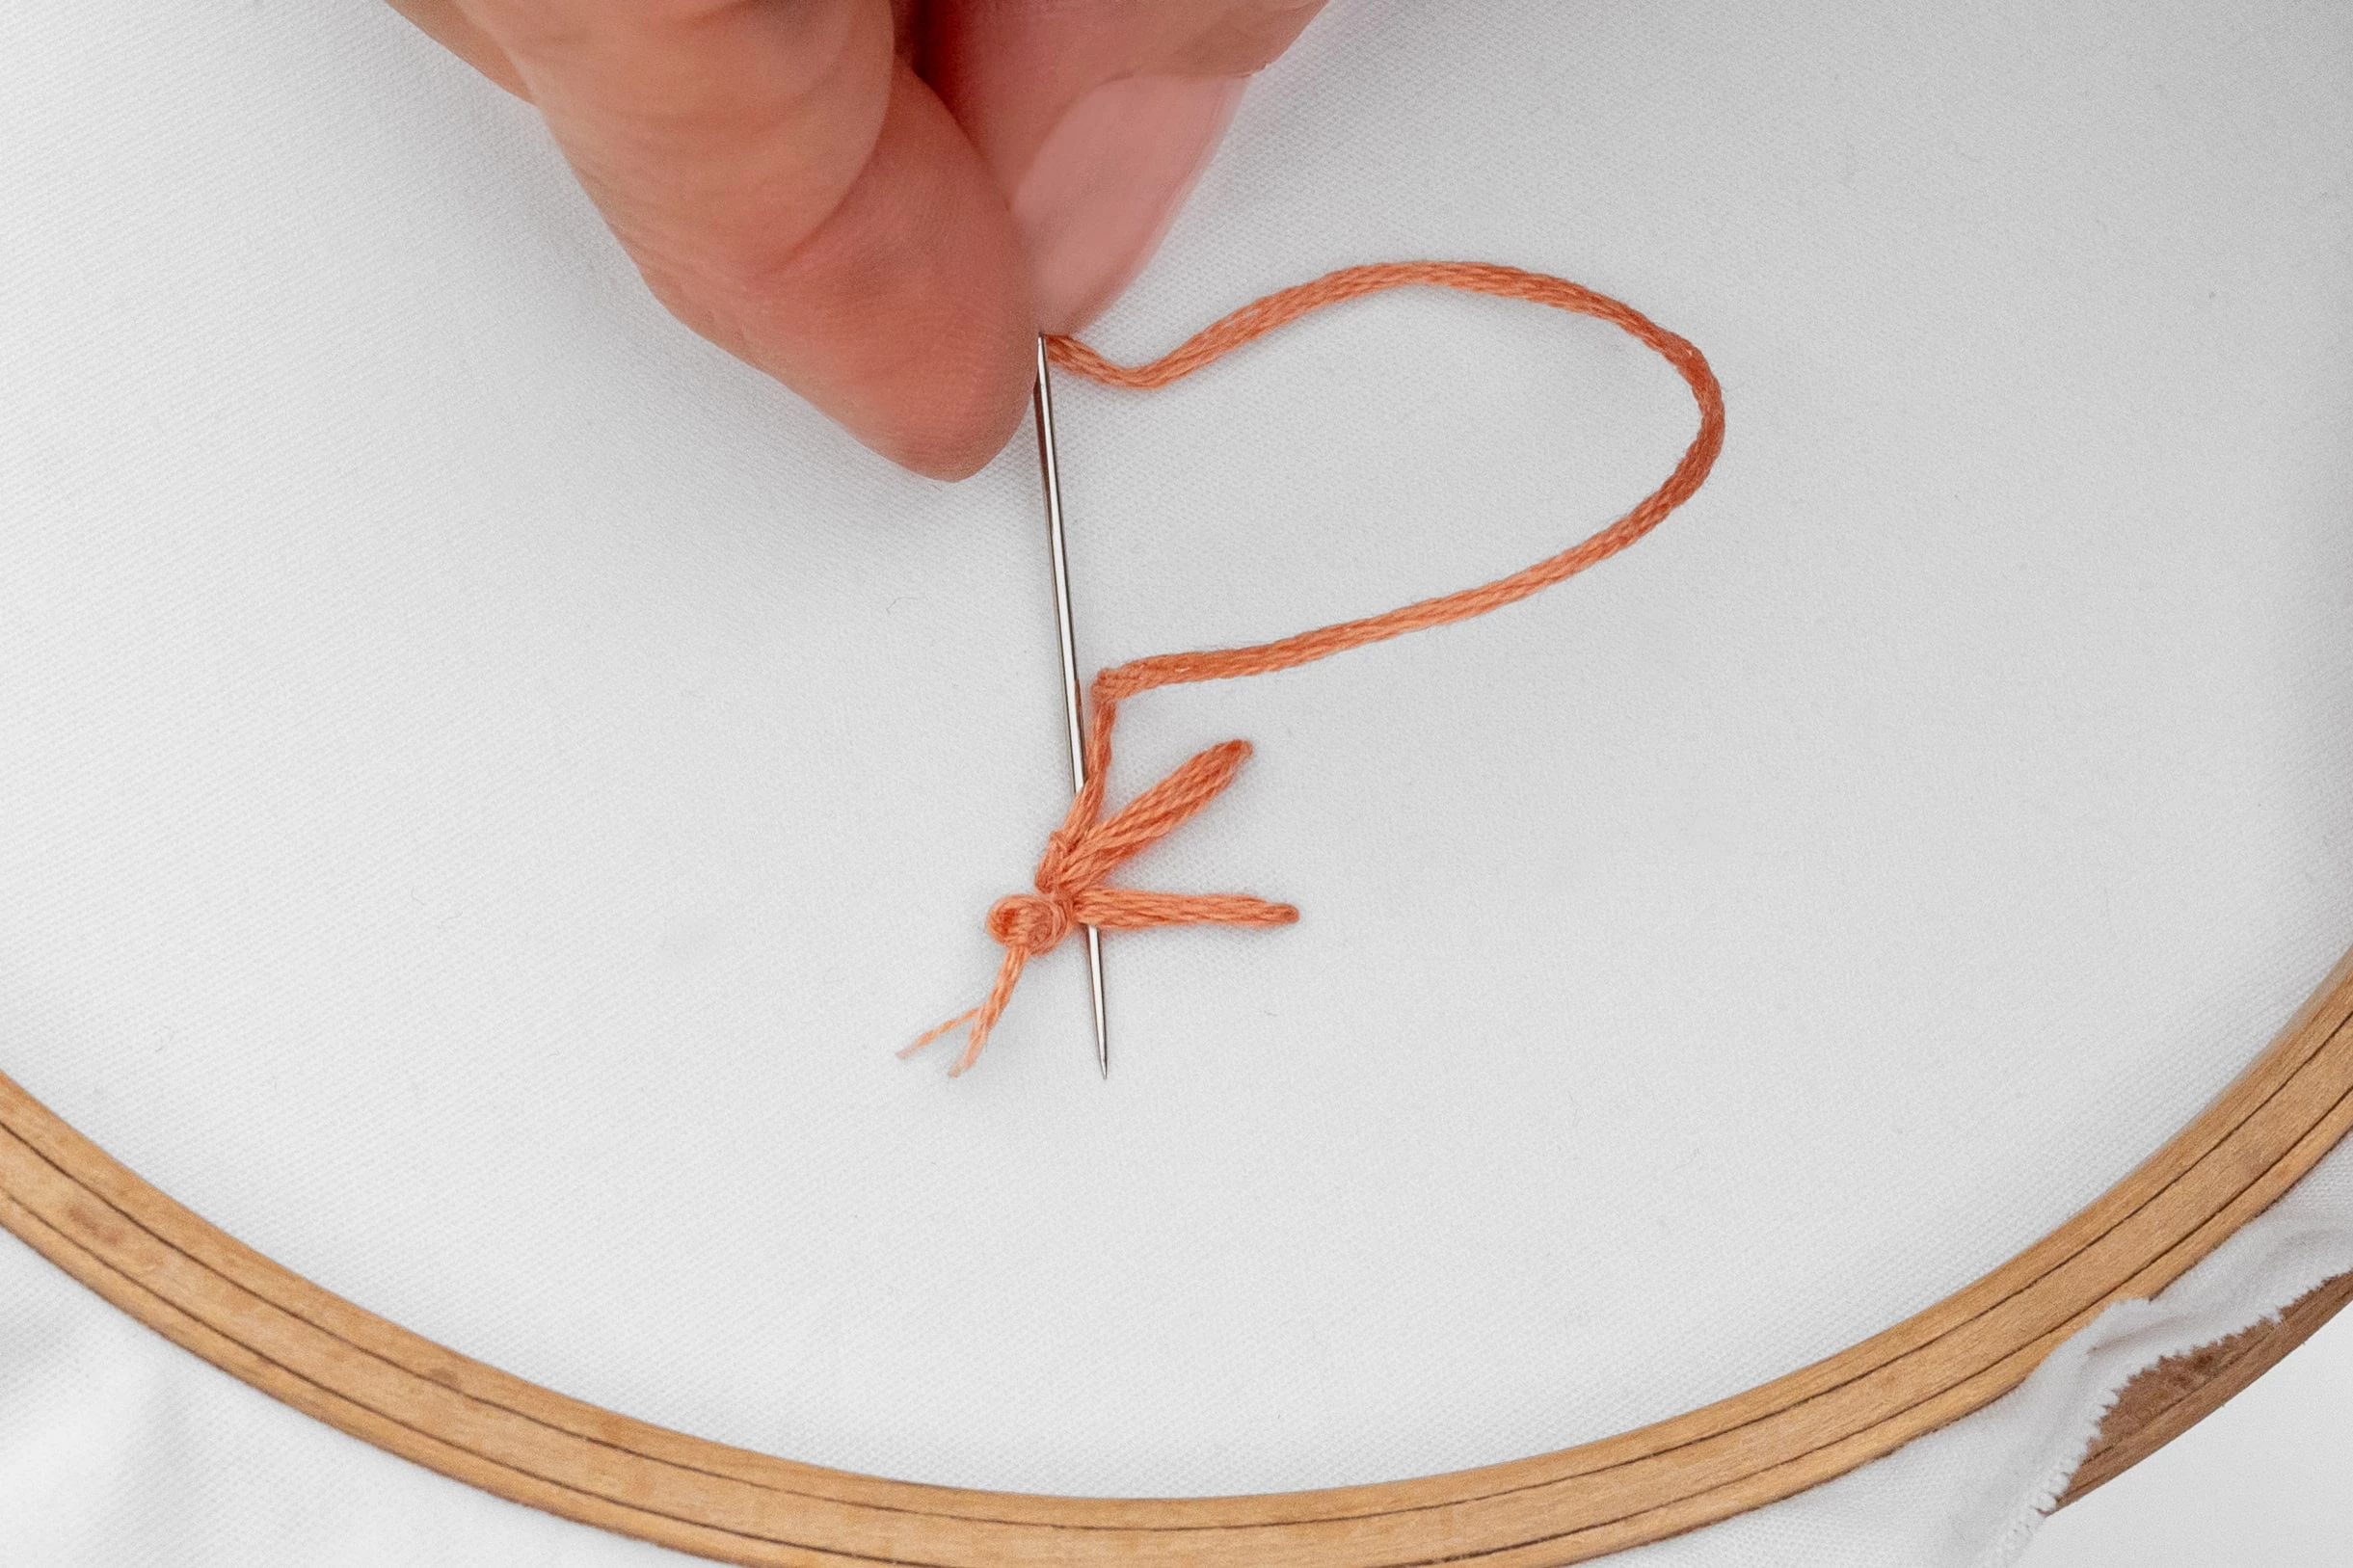
Start with a Strong Knot:
Imagine creating a spectacular work of design with colorful threads and beautiful different types of stitches only for all of it to vanish into the air because the starting of your stitch wasn’t strong enough. So, to prevent your designs from losing up and running the work, make the thread knot. To secure your thread before stitching, start with a knot or anchor. This will prevent your thread from pulling through the fabric and ensure that your stitches stay in place. Experiment with different knotting techniques to find the one that is easy and works best for you.
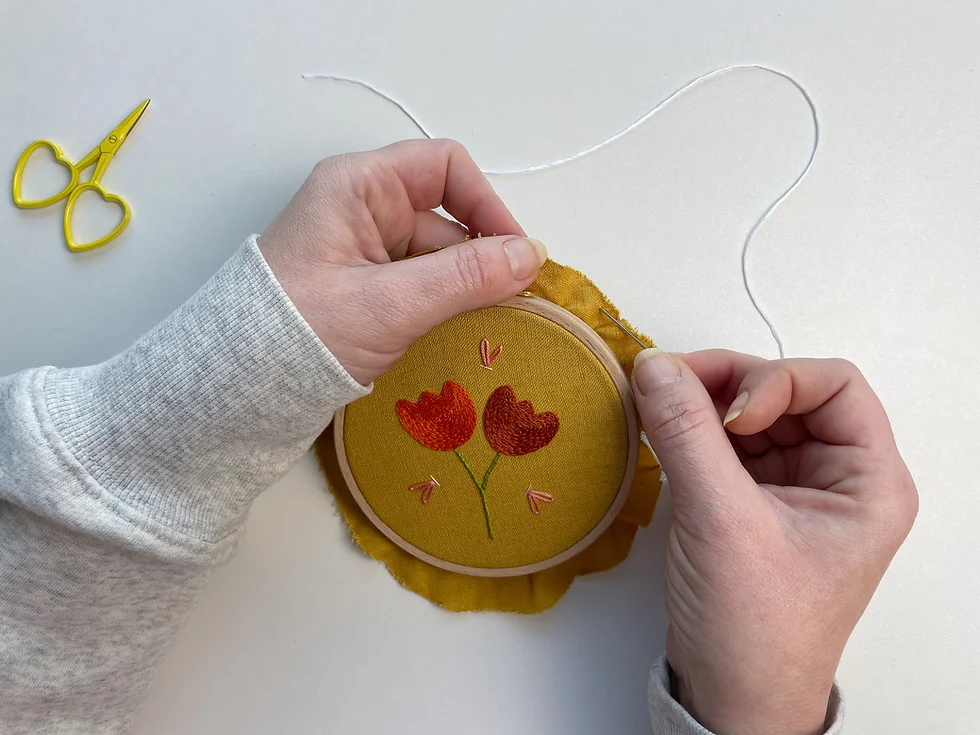
Maintain Consistent Tension on thread:
Keep your hands steady, for that I’d suggest you find the most comfortable place to do your embroidery stitching. Consistent pressure is the key to uniform and neat stitches. Avoid pulling your thread too tightly or leaving it too loose. Keep the hoop at a stable angle that makes your stitching easier. Practice maintaining a steady tension throughout your stitching to achieve professional-looking results.
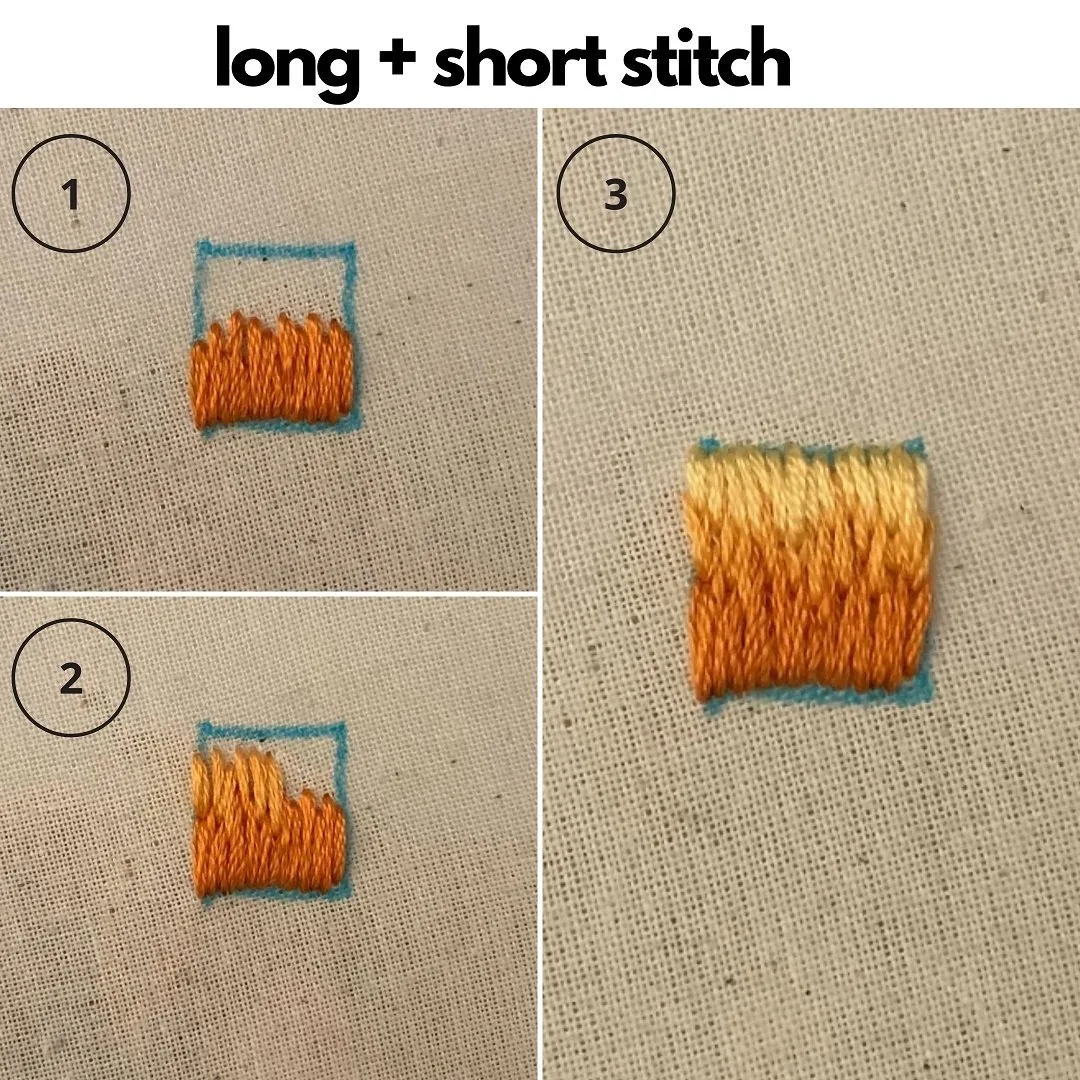
Practice Stitch Length:
After selecting the kind of stitch, you are going to work with, make sure to master the length of each join that shapes up the thread to make the proper-looking design. The length of your stitches can greatly affect the overall look of your embroidery. Experiment with stitch lengths to find the right balance for your design. Shorter stitches create a denser and more textured look, while longer stitches give a more open and airy effect.
Needle Placement:
Be mindful about where you insert the needle. Otherwise, you will end up with stitches having different spacing between them. Pay attention to where you puncture with your needle. Even spacing between each hole you make for stitches will result in a more polished and professional finish. Whether you are following a pattern or creating your own, proper and accurate needle placement is necessary for your design to come together smoothly.
Perfect Small Stitches:
For beginners, I’d advise you to make small yet uniform stitches. The chances of long stitches getting tangled up are always higher. Small stitches are easy to make with stability. Achieving a well balanced and well thought design also involves maintaining your stitch length and spacing between them. Do not rush this step, or any step actually, take your time and practice to get it just right.
Take Frequent Breaks:
You must be wondering how that helps you while working with the thread and needle. Well, practice harmony and practice. Too much practicing can wear you out not only physically but also mentally. Achy backs and bugging eyes aren’t going to help you perfect your work. Embroidery can be a time-consuming process, so remember to give yourself breaks to prevent hand fatigue. It’s important to take care of yourself while enjoying your craft.
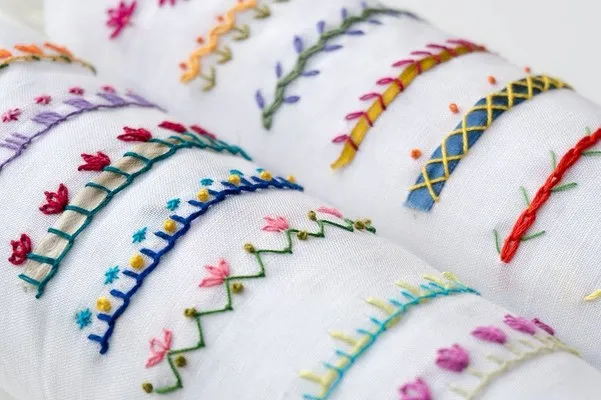
Create and Experiment:
Embroidery is all about creativity! Never stop because of unfamiliar strategies you may encounter it is pretty normal as you start hand embroidery. The more you stitch, the more perfect you will become. Feel free to try out new things in the stitching process like techniques, stitch types, and designs. Remember, at the end, it’s you and your journey, and as you walk on it, you might discover better techniques and tips for many steps.
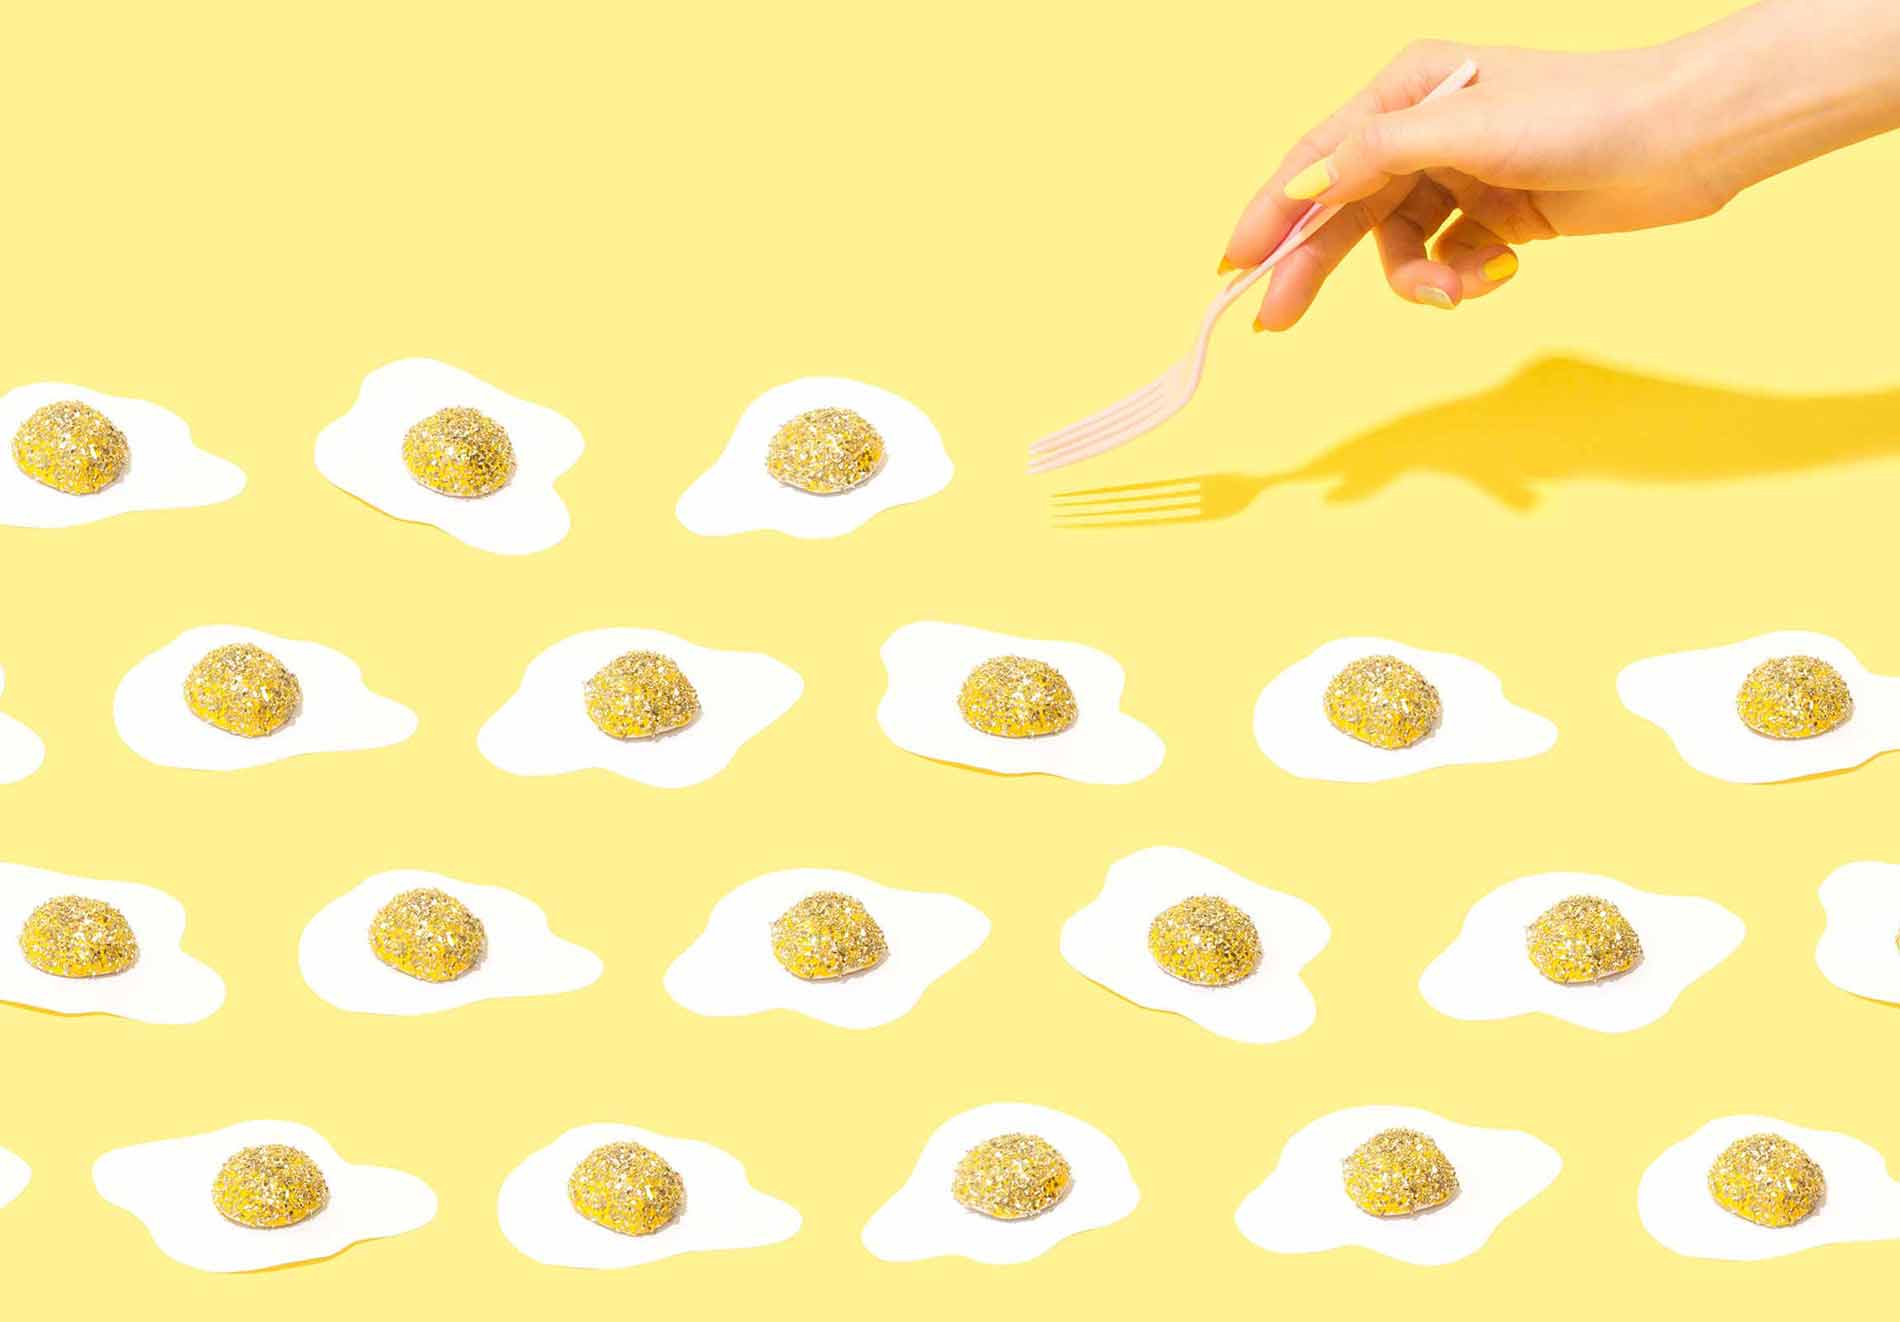
Edible Easter Slime
Mauris congue venenatis nisl ut varius. In posuere sem lorem, eu iaculis ante. Quisque eget turpis
Creative Back To School Ideas
Mauris congue venenatis nisl ut varius. In posuere sem lorem, eu iaculis ante. Quisque eget turpis
Exclusive Content
Be Part of Our Exclusive Community
Sed finibus, sem elementum tincidunt tempor, ipsum nisi ullamcorper magna, vel dignissim eros sapien at sem. Aliquam interdum, ante eget sagittis fermentum, mauris metus luctus sem, at molestie.


Leave A Comment